
How to Take Better Photos with Your Phone?
Taking stunning photos no longer requires a bulky camera. The smartphone in your hand is often more than capable of capturing jaw-dropping shots. The only catch — you must know how to use it right. But let’s be honest, we have all been there when we kept trying to take pictures of a subject but they somehow did not quite match the beauty of the real moment. But no need to worry! The good news is that neither do you have to be a pro nor do you need expensive gear to level up your phone photography. A few clever tricks from the experts and a basic understanding of your phone’s hidden features will ensure that you get to capture the moment truly. So, let’s not wait further and find out what these tips are.
INDEX
Tips To Take Better Photos on Your Phone
1. Use Gridlines For Better Composition
2. Turn on Auto HDR
3. Use Portrait Mode for Background Blur
4. Enable Live Photos to Capture Motion
5. Shoot in 4K for High-Quality Videos
6. Switch to Ultra-Wide Lens if You need Expansive Shots
7. Try Manual Focus
8. Avoid Zooming and Move Closer Instead
9. Use a Tripod to Avoid Shaking
10. Use the Rule of Thirds
Conclusion
Frequently Asked Questions About Phone Photography
- What accessories can enhance smartphone photography?
- How can you take better low-light photos with a smartphone?
- Are smartphone photos good enough for professional printing?
Tips To Take Better Photos on Your Phone
1. Use Gridlines For Better Composition
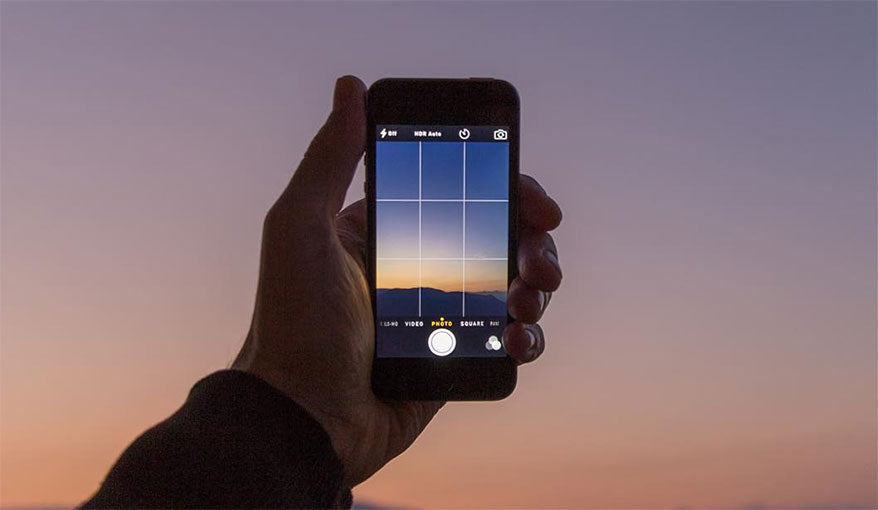
Ever feel like your photos are slightly "off"? Gridlines can be your secret weapon to fix that. By dividing your camera screen into nine equal sections using two horizontal and two vertical lines, gridlines help you frame your shots better. For instance, imagine taking a picture of a sunset. Align the horizon along one of the horizontal lines instead of centring it, and place the setting sun where the lines intersect. This approach creates a balanced and professional-looking composition.
iPhone users can find it under:
Settings > Camera > Grid
If you are using Android, check:
Camera Settings > Grid Lines.
2. Turn on Auto HDR

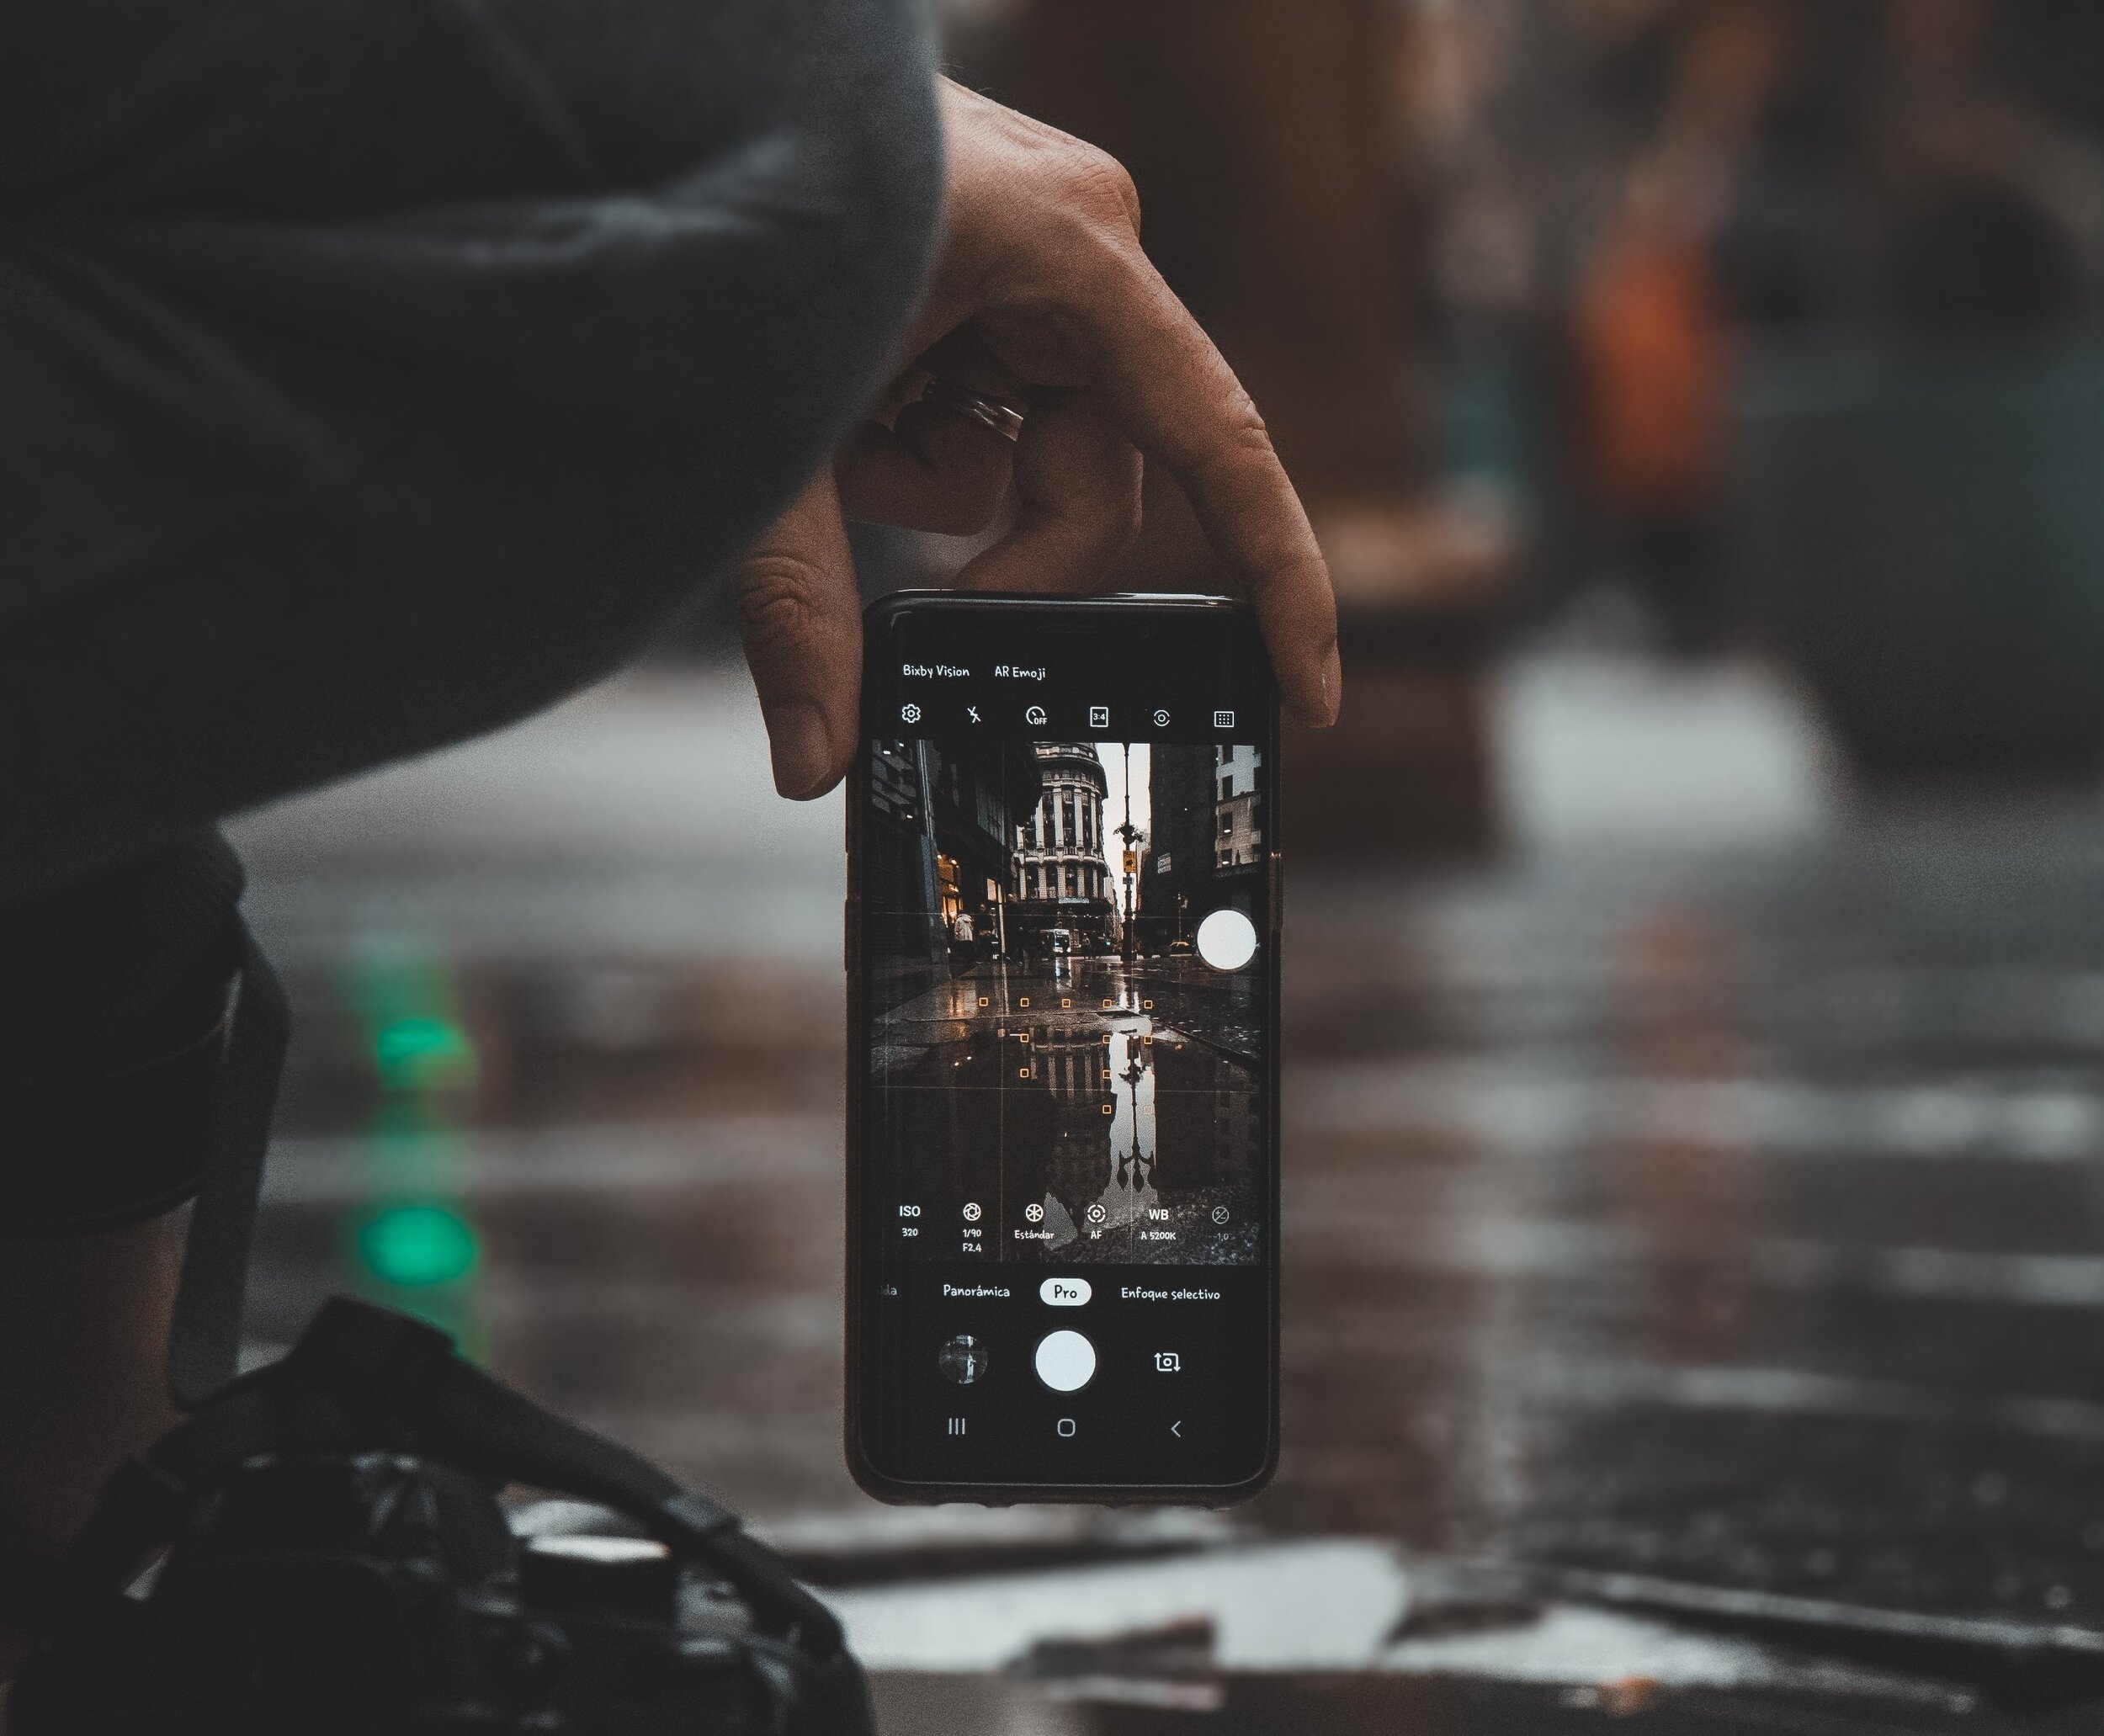
Lighting can make or break a photo, especially in scenes with sharp contrasts, like a bright sky and a dark foreground. That’s where HDR (High Dynamic Range) comes in — it captures multiple exposures and blends them into one perfectly balanced photo. On most modern phones, Auto HDR is available by default. If you’re shooting a cityscape during sunset, HDR ensures that the details of the buildings aren’t lost in shadows while keeping the sky’s vibrant colours intact.
To turn it on:
-
On iPhones: It’s set to auto but can be changed from Settings > Camera > Smart HDR.
-
On Androids: Look for the HDR option in the camera app itself.
Pro tip: Avoid HDR when shooting moving subjects, as blending multiple exposures can result in motion blur.
3. Use Portrait Mode for Background Blur

Portrait mode is a game-changer for smartphone photography. It gives you that DSLR-like bokeh effect with ease. You can select this option to highlight your subject by gently blurring the background — whether it’s a person, your pet, or even a cup of coffee. Using Portrait mode is straightforward: open your camera app and swipe to the Portrait setting. Some phones even allow you to adjust the intensity of the blur either before or after taking the photo. For example, on newer iPhones, you can use the Depth Control slider in the Photos app to customise the background blur.
Keep in mind that good lighting is crucial. Portrait mode can struggle in dim environments or with overly complex backgrounds. Stand a few feet away from your subject and make sure it’s well-lit for the best results.
Also Read: Simple Android Tips & Tricks To Make Your Phone More Useful
4. Enable Live Photos to Capture Motion
Sometimes a still photo doesn’t tell the whole story. That’s where Live Photos shine. This feature records a short video — around 1.5 seconds before and after you hit the shutter button. So, you get a small glimpse of movement and a sound effect around the shot.
To activate it, tap the circular Live Photos icon in your camera app. It works wonders for candid moments, like capturing a child’s laughter or the flutter of leaves in the wind. After taking the shot, you can even choose the best frame by editing it and selecting "Make Key Photo."
Just keep an eye on your storage — Live Photos take up more space than regular pictures.
5. Shoot in 4K for High-Quality Videos
If you’re still recording videos in 1080p, it’s time to step up your game. Shooting in 4K delivers exceptional clarity and detail, making your videos look cinematic. It ensures every detail stands out.
Switching to 4K is easy.
-
On iPhone: Go to Settings > Camera > Record Video and select 4K at 30fps or 60fps.
-
On Android: Open your camera app, find video resolution settings, and choose 4K.
Keep in mind that 4K files are large and can quickly fill up your storage. Also, it drains your battery faster, so it’s wise to carry a power bank if you’re planning a long shoot.
6. Switch to Ultra-Wide Lens if You need Expansive Shots

Your phone’s ultra-wide lens isn’t just a fancy extra — it’s a tool that lets you capture breathtaking views, group photos, and architectural marvels without stepping back. This lens captures a much broader scene than the standard lens so that the photos have a dramatic edge. To use the ultra-wide lens, simply select it in your camera app (often marked as 0.5x or "wide"). With this feature, you can take pictures of a massive cathedral standing in front without cutting off the top or sides.
Be mindful of distortion, especially around the edges. Some phones, like recent Samsung Galaxy or iPhones, include auto-correction to minimise this effect.
7. Try Manual Focus
Most of us use autofocus when taking photos. Even though it works well in most cases, there are times when taking control of the feature can make all the difference. Manual focus is most commonly used when there are multiple subjects in the frame but you want to focus only on one. Since you do not have control over the focus, you can easily choose which subject should remain in focus. Also, the images will appear crisp and sharp, especially in close-up or macro shots.
Open your camera’s Pro Mode to disable the autofocus. You can then drag the focus slider and adjust until your subject is completely in focus. For instance, say you are taking a picture of a flower. Now, there would be multiple leaves or flowers around it. Autofocus can focus on any of those subjects as well. But with manual focus, you can be specific about which subjects should stay in focus and which should not.
8. Avoid Zooming and Move Closer Instead
It is natural to feel like you should zoom in when taking a picture of something at a distance. However, we would recommend not using it whenever possible, and we have good reasons for that too. Digital zoom on phones can degrade image quality. This means your photos can look pixelated or blurry if you try to zoom in too much. This is why we suggest avoiding digital zoom and moving yourself closer to the subject whenever possible. For example, if you’re taking a picture of an insect, you can move a little closer to it instead of zooming in to capture the details.
However, it is not necessary with all phones. Many modern phones, like the iPhone 16, come with optical zoom. Optical zoom is a similar feature but your images do not get blurry or pixelated when you zoom in completely. So, you do not have to move closer to the subject physically to take images.
9. Use a Tripod to Avoid Shaking

Blurry photos can ruin even the most well-composed image. This is a huge problem for people working in low light or during long exposures. A tripod can solve this by keeping your phone completely steady. Compact and affordable phone tripods are easily available and can be carried around. You can use it for shooting landscapes, night photography, or even family portraits. Many tripods come with Bluetooth remotes as well. So, you will be able to take the shot without touching your phone. Therefore, the risk of vibration is minimal.
Pro tip: If you don’t have a tripod handy, rest your phone on a flat surface or against a sturdy object like a wall or book. Stability is the key to sharper, more professional-looking images.
10. Use the Rule of Thirds

The Rule of Thirds is more than just a guideline; it’s a way to make your photos feel balanced. By dividing your frame into thirds, both horizontally and vertically, and placing your subject along these lines, you create a composition that naturally draws the viewer’s eye.
For example, if you’re shooting a portrait, position the person’s eyes along the top-third line. This simple adjustment instantly makes the photo more engaging. Combine this with gridlines to master the art of composition in no time.
In Conclusion
Photography is as much about creativity as it is about technique, and your phone is a versatile tool waiting for you to explore its full potential. The more you experiment, the more you’ll discover what works for your style and vision. Don’t shy away from trying new angles, playing with light, or diving into your camera’s settings. However, taking good pictures would be difficult if you do not have a good phone. The problem is most phones with great cameras are often expensive. If you want an affordable solution, consider buying a refurbished phone. Mobilegoo sells premium-quality refurbished phones at the lowest prices. These come with up to 1 year warranty and 7 days replacement policy. You can opt for No-cost EMI as well.
After buying a refurbished phone, if you no longer need your current phone, consider selling it. Mobilegoo offers a great platform to sell your old/used mobiles. The process is simple and takes only a minute. Just select your device, answer a few questions, and schedule the pickup. Our executive will visit your location, pick up the phone, and instantly process the payment.
Also Read: Signs you Need to Sell your Phone and Buy a New One
Frequently Asked Questions About Phone Photography
What accessories can enhance smartphone photography?
Accessories can significantly improve your smartphone photography without breaking the bank. Clip-on lenses, such as macro or wide-angle attachments, are great for expanding your camera's capabilities. They let you capture intricate close-ups or expansive landscapes. A portable tripod or gimbal is also needed for stabilising shots. You can also get a pocket-sized LED ring light to create evenly lit portraits. Some smartphones also support external microphones for recording sharp audio.
How can you take better low-light photos with a smartphone?
Low-light photography is often tricky with smartphones due to their smaller sensors. To get better results, use your phone's "Night Mode," which processes multiple exposures to brighten dark scenes without overexposing highlights. A steady hand is essential — better yet, use a tripod to avoid blur. Also, avoid digital zoom in low light. Instead, crop the photo later if needed. To prevent noise and keep details intact, adjust your camera's exposure manually. If possible, use external light sources like a lamp or portable LED.
Are smartphone photos good enough for professional printing?
Absolutely, but there are a few things to keep in mind. Ensure you shoot in the highest resolution available on your phone to retain maximum detail. Use editing tools to enhance sharpness, contrast, and colour balance for a polished look. Many smartphones now support RAW format, which preserves more data than standard JPEGs. You will get greater flexibility in post-processing. For printing, stick to smaller prints like 4x6 or 8x10.